There’s a moment most local business owners never forget.
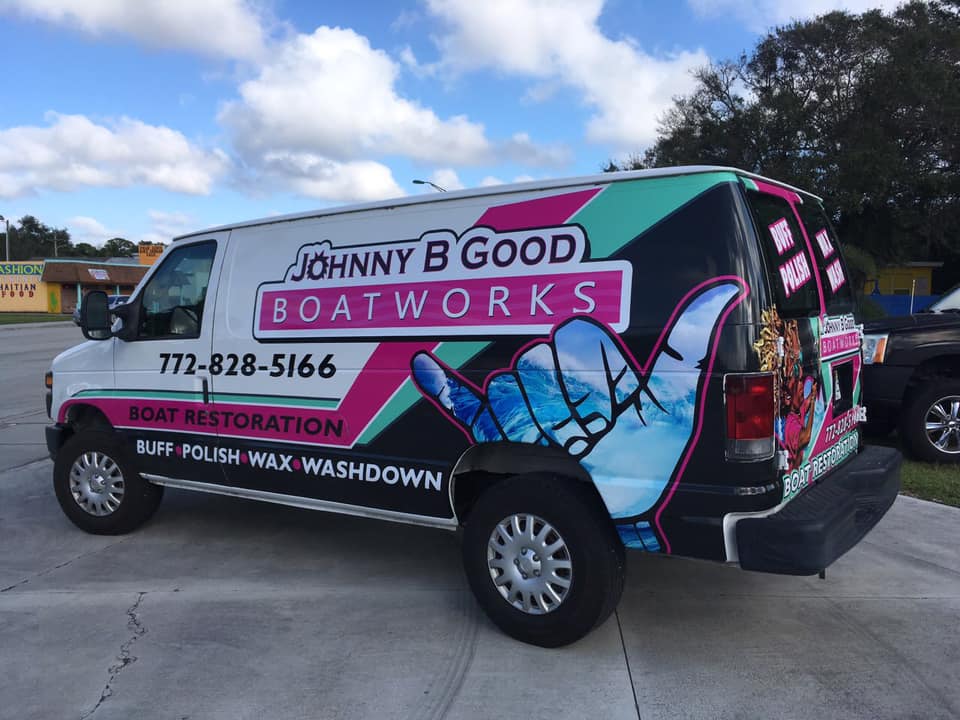
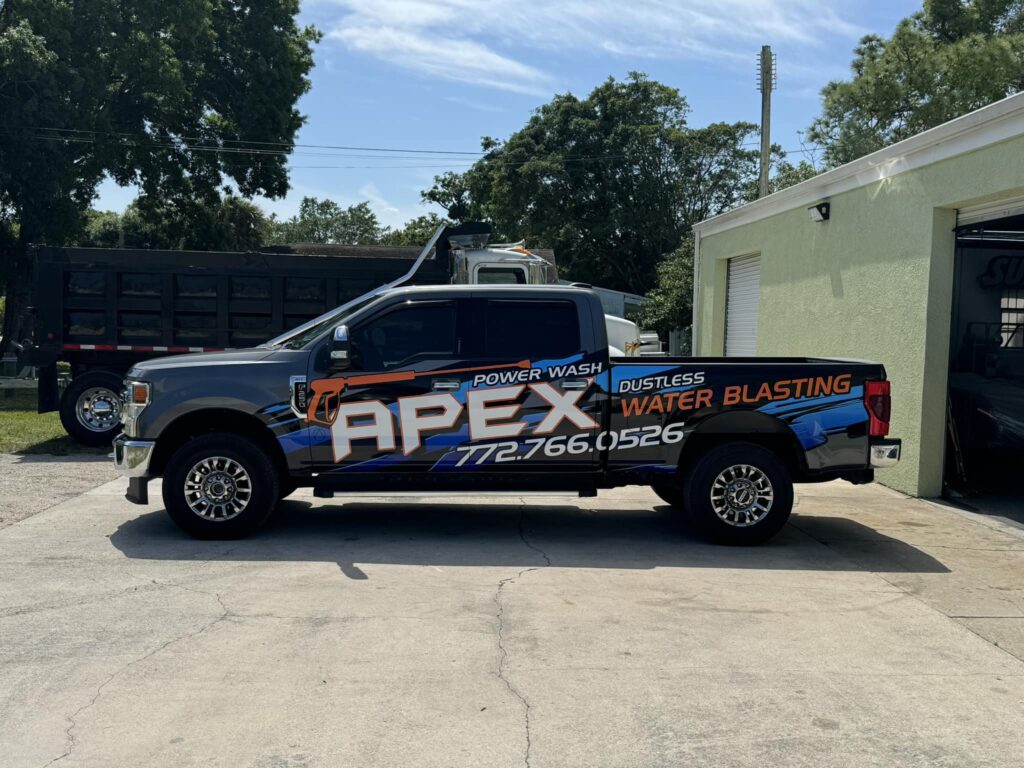
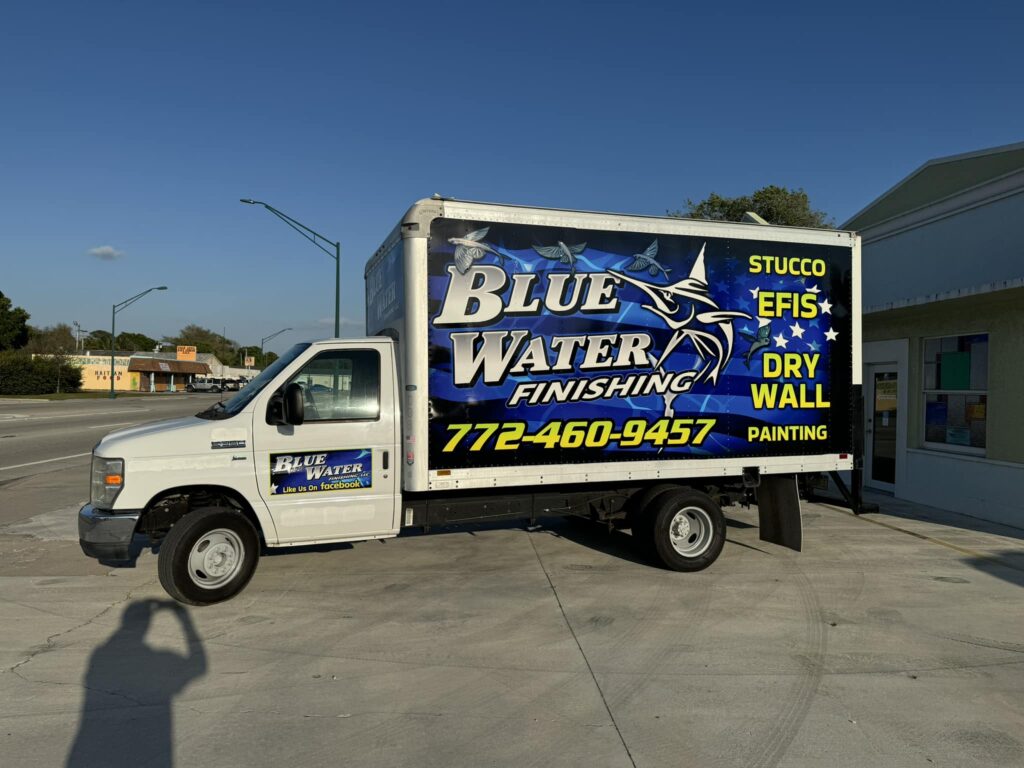
You’re sitting at a red light. A plain white van pulls up beside you,nothing flashy, nothing expensive. But something about it feels immediately trustworthy: a clean logo, bold brand colors, a service line you can read in one glance, and a phone number placed exactly where your eyes naturally land.
You don’t need that service today.
But next week, when your AC stops working, when you need a contractor, when you’re looking for a towing company, you remember that van. You remember the name. You remember the number.
That’s not luck. That’s what happens when vehicle decals are designed and installed the right way.
Why Vehicle Decals Still Deliver the Best Local Advertising ROI
You can run ads every day, change your copy weekly, and keep paying for impressions you don’t own.
Or you can invest once in business vehicle decals ,and let your brand show up everywhere your vehicle goes.
A vehicle with clean vehicle lettering and a clear message doesn’t just look better. It communicates:
- “We’re legitimate.”
- “We’re established.”
- “We show up professionally.”
- “You can trust us.”
That’s why vehicle decals work especially well for local service businesses, HVAC, plumbing, landscaping, towing, cleaning, electricians, contractors, and fleets that need consistent branding.
A decal doesn’t chase customers. It builds recognition before they need you, so when the time comes, you’re already the obvious choice.
Vehicle Decals vs Vehicle Wraps: What’s the Difference?
Before we dive into the step-by-step process, let’s clarify a common misunderstanding.
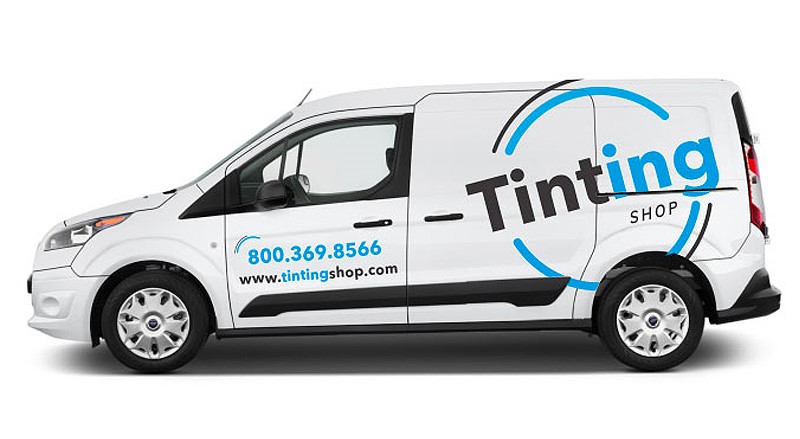
Vehicle decals (vinyl decals / vehicle lettering)
- Logos, text, phone numbers, websites, icons, small-to-medium graphics
- Faster installation
- Budget-friendly
- Perfect for clean, professional branding
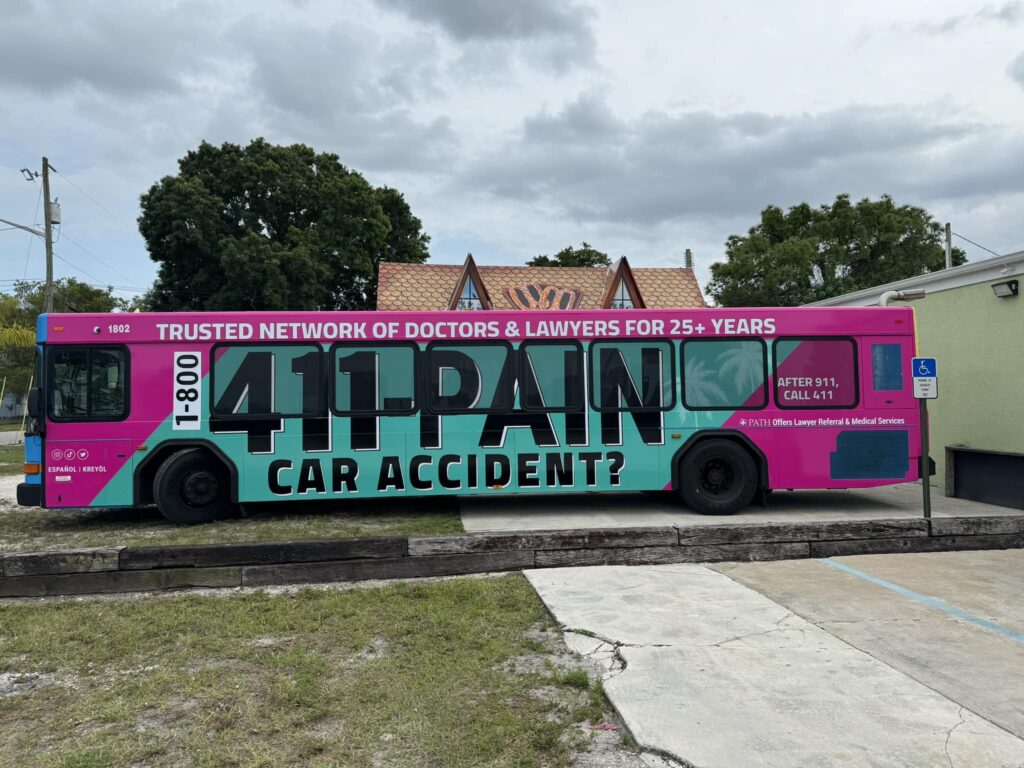
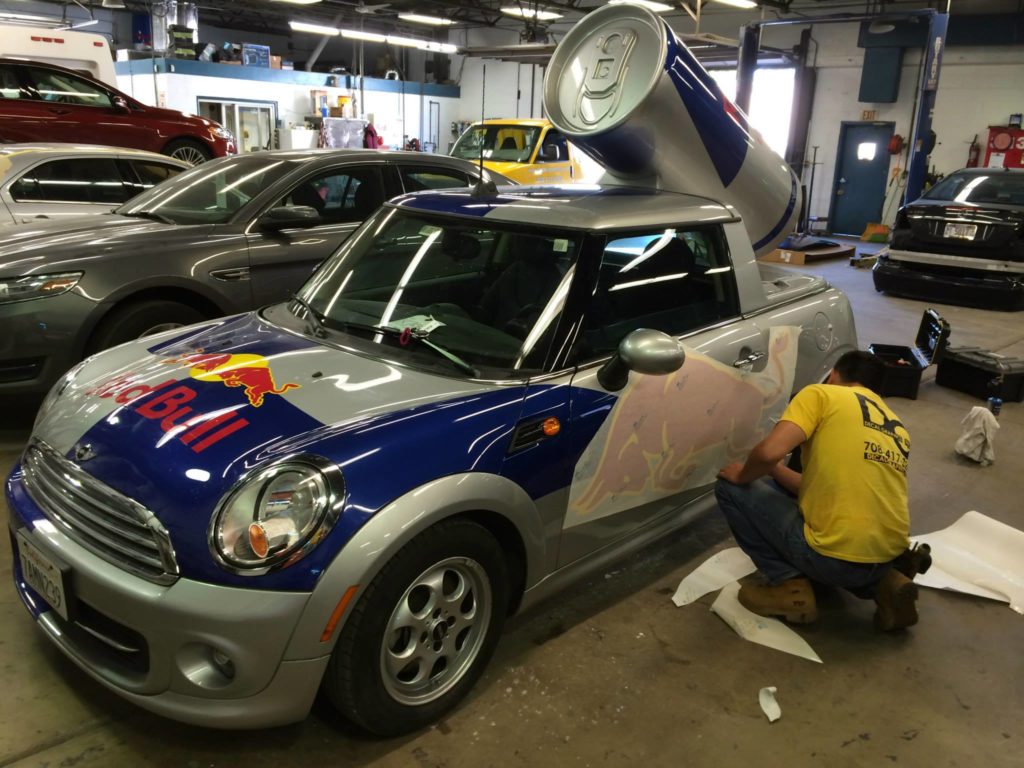
Vehicle wraps (partial wrap / full wrap)
- Large coverage (panels or full vehicle)
- Strong transformation
- More design + install time
- Higher visual impact
If your goal is professional brand presence without full wrap cost, car decals are often the smartest move. You can always upgrade to a partial or full wrap later.
Part 1: What You Need Before You Install a Vehicle Decal
If decals bubble, wrinkle, or lift at the edges, it’s usually not because someone “has bad hands.”
It’s because the prep was wrong.
1) Choose the right vinyl (don’t treat all vinyl the same)
Not all vinyl decals are built for vehicles.
In general:
- Cast vinyl (premium): flexible, conforms well, better durability, ideal for curved surfaces and long-term outdoor use
- Calendared vinyl (economy): works on flatter areas, shorter lifespan, more prone to shrinkage over time
If this is for a business vehicle, premium materials pay for themselves, because peeling edges and fading graphics don’t just look bad… they reduce trust.
2) Pick the right placement (based on how people actually look)
A great decal is readable in 2–3 seconds.
High-performing zones:
- Front doors: logo + short service line
- Side panels: logo + service + phone number
- Rear (back doors / tailgate): phone + website large (drivers behind you have time to read)
Pro tip: stand 15–30 feet away. If you can’t read it instantly, the design is too busy or too low-contrast.
3) Tools for professional decal application
If you want a clean result, have these ready:
- Felt-edge squeegee (prevents scratches)
- Sharp utility knife (new blade)
- Masking tape (for alignment + hinge method)
- Measuring tape + level reference points
- Microfiber towels (lint-free)
- Isopropyl alcohol (IPA) for final cleaning
- Heat gun (only for controlled use on curves/edges)
4) Ideal installation conditions
- Indoor space (garage/shop), minimal dust
- Moderate temperature (avoid extreme cold/heat)
- No direct sunlight on the panel you’re installing
Part 2: Surface Prep (Where 80% of Decal Failures Come From)
A clean-looking vehicle isn’t always decal-ready.
Car wash soap removes dirt, but it doesn’t remove wax, silicone, oils, or residue that kills adhesion.
Step-by-step cleaning for vehicle decals
- Wash the vehicle and dry it completely
- Clean the application area with isopropyl alcohol (IPA)
- Use a clean microfiber towel
- Wipe in one direction (don’t swirl dirt around)
- Focus on high-oil zones: around handles, edges, near wheel wells
Avoid these common mistakes
- Installing over fresh wax/polish
- Using household glass cleaner with ammonia
- Touching the cleaned panel with bare hands before applying
Part 3: Dry Application vs Wet Application (Which Should You Use?)
When people search “how to apply car decals,” they often run into conflicting advice. Here’s the simple breakdown.
Dry application (recommended for most modern vehicle vinyl)
Best for:
- Cut lettering
- Logos
- Vinyl with air-release adhesive
Pros:
- Stronger immediate adhesion
- Less risk of trapped moisture
- Faster finishing process
Cons:
- Harder to reposition once the adhesive grabs
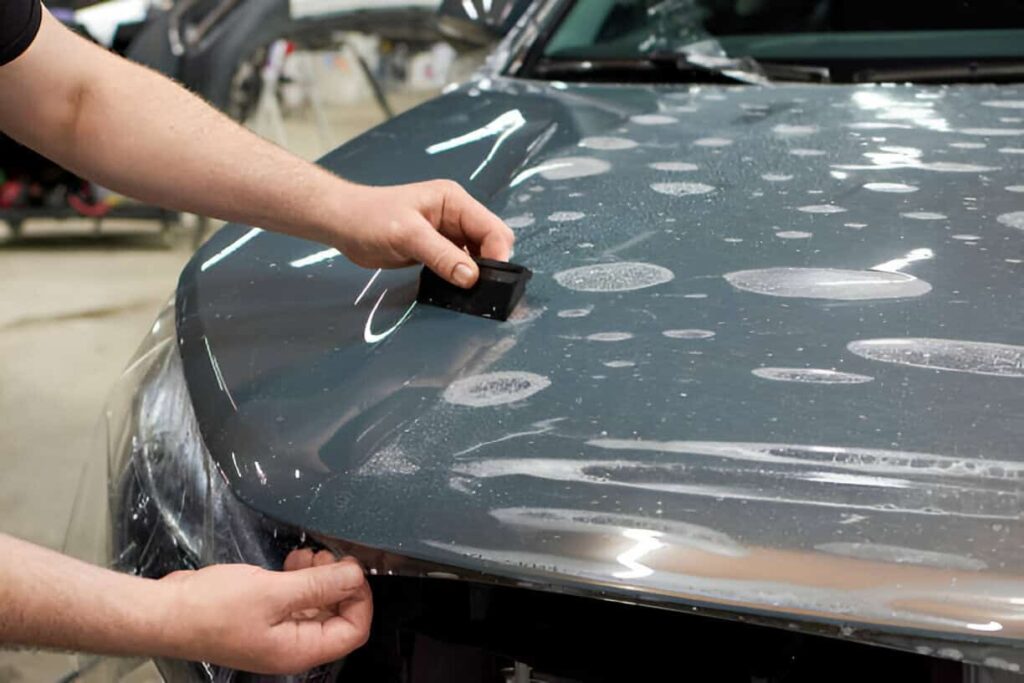
Wet application (sometimes useful, but not universal)
Best for:
- Large flat decals
- Beginners needing reposition time
Pros:
- Allows sliding/adjusting before final placement
Cons:
- Not suitable for all vinyl
- Requires proper squeegee technique to remove moisture
- Can reduce initial tack and increase edge-lift risk if rushed
If you’re not sure what vinyl you have, dry application is usually safer, especially for business-grade materials.
Part 4: Step-by-Step Vehicle Decal Installation (Clean, Straight, Bubble-Free)
This is the SignEdge-style process: alignment first, control the placement, then lock it down.
Step 1: Position and align the decal (before removing backing)
- Hold the decal on the panel
- Use body lines, door gaps, or seams as reference points
- Measure equal spacing left/right (especially for fleet consistency)
Step 2: Use the “hinge method” (the easiest way to avoid crooked installs)
- Tape the decal in place using masking tape
- Create a hinge across the center or along the top edge
- This keeps the decal from shifting while you apply it
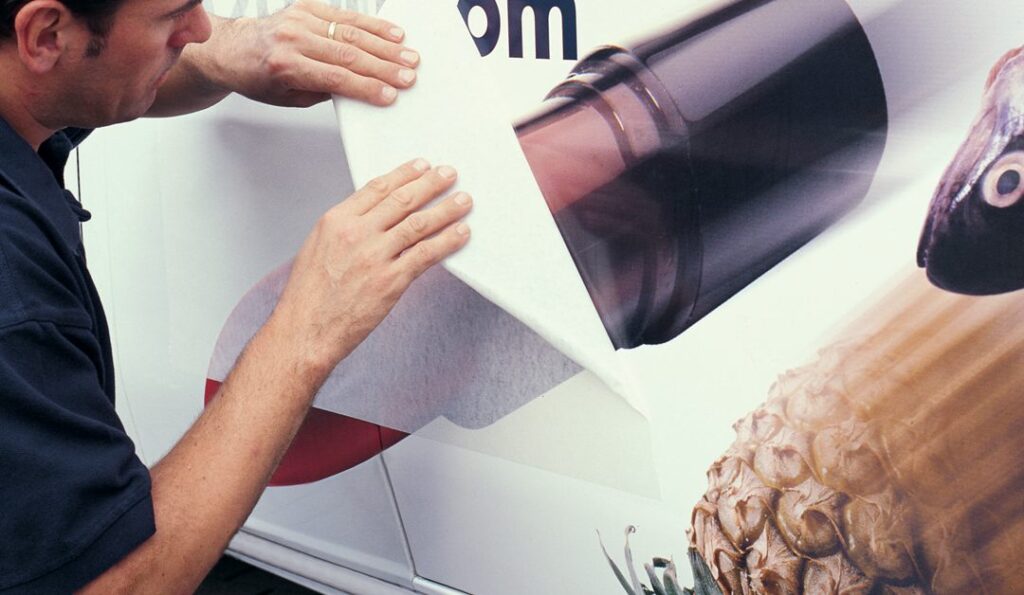
Step 3: Peel the backing slowly
- Lift the decal away from the panel using the hinge
- Peel the backing paper off gradually
- Keep the adhesive from folding onto itself
If you’re applying lettering with transfer tape, keep it stable,don’t let letters stretch.
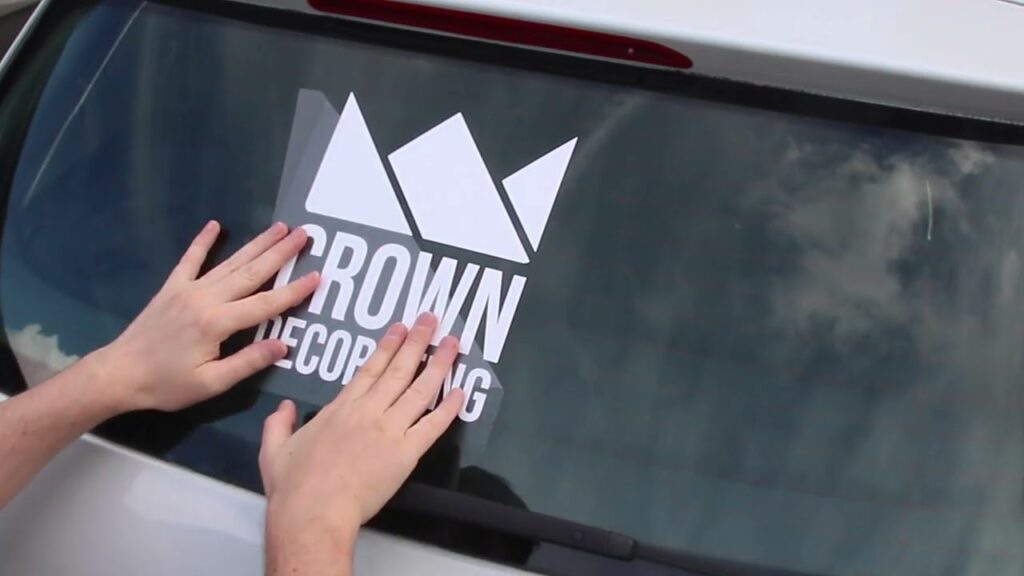
Step 4: Apply and squeegee from the center outward
- Lay the decal down slowly
- Squeegee from the center toward the edges
- Use steady pressure in overlapping strokes
Goal: push air out before it gets trapped.
Step 5: Handle curves and body lines properly
Curves are where most installs fail.
Rules:
- Don’t overstretch vinyl
- Warm gently if needed (heat gun on low, controlled distance)
- Work in small sections
- Re-squeegee edges after warming
Step 6: Remove transfer tape the right way (if applicable)
Wait a few minutes, then:
- Peel tape back at a low angle, close to the surface
- If letters lift, stop and re-squeegee
- Never yank upward
Step 7: Final edge check (the “set” step)
- Re-squeegee edges and corners
- On complex edges, apply gentle heat and press down again
- Make sure nothing is lifting, especially near seams and curves
Part 5: Common Problems (and How to Fix Them)
Tiny bubbles
- Air-release vinyl often self-resolves small bubbles in a few days
- If needed: puncture lightly with a pin and squeegee outward
Dust under the decal
This is tough to “fix perfectly.”
- Small decal: remove and reapply if the adhesive is still clean
- Large decal: often better to replace the panel piece for a clean finish
Edge lifting after installation
Common causes:
- Wax/oil residue
- Cold installation temperature
- Not setting edges on curves
Fix:
- Clean the edge area (careful)
- Apply gentle heat and press down firmly
- If dirt entered the adhesive, replacement may be necessary
Crooked placement
If it’s dry-applied and already grabbed, repositioning can stretch vinyl. This is why hinge method + measuring matters.
Part 6: Make Vehicle Decals Actually Convert (Not Just Look Nice)
A decal can be beautiful and still fail as marketing.
To convert attention into calls, your decal needs clarity and hierarchy.
Keep the message short
A vehicle is not a brochure.
Best-performing content:
- Logo
- One service line
- Phone number
- Website (optional)
Use correct reading order
Most people scan like this:
- Logo
- What you do
- How to contact you
- Extra details (if any)
Design for that behavior.
Contrast wins
Low-contrast lettering disappears in real conditions, sun glare, motion, distance. High-contrast layouts stay readable, and readability is what drives response.
Rear placement matters
Your rear panel is prime real estate. People behind you have time. Make the phone number easy to read.
DIY vs Professional Vehicle Decal Installation (When to Do It Yourself)
DIY can work, especially for simple decals on flat panels.
But for business vehicles, quality is credibility.
DIY is fine if:
- Small logo/lettering
- Flat surfaces
- You’re okay redoing it if needed
Go professional if:
- Large decals
- Curves, body lines, textured areas
- Fleet branding consistency matters
- The vehicle represents your company every day
A wrinkled or peeling decal doesn’t just look bad, it suggests your business cuts corners, even if you don’t.
Quick Checklist: Professional Decal Application in 60 Seconds
Before:
- Clean + dry
- IPA wipe
- Measure placement
- Hinge method ready
During:
- Peel backing slowly
- Squeegee center outward
- Light heat only when needed
- Recheck edges
After:
- Edge set
- Wait 24–48 hours before washing
- Avoid pressure on edges
FAQ:
1. Do vehicle decals damage paint?
Quality vinyl applied and removed correctly typically won’t damage factory paint. Risk increases on weak repaints or damaged clearcoat.
2. How long do vinyl decals last?
Depends on material, exposure, and care. Premium cast vinyl lasts significantly longer than economy films.
3. Can I design my own decals?
Yes, but professional layout improves readability and conversion—especially for business vehicles.
4. How long does installation take?
Small decals can be quick. Larger layouts require alignment, cleaning, and careful application.
Ready to Turn Your Vehicle Into a Clean, Trustworthy Brand Statement?
If you want your vehicle to look professional, readable, and built to last, start with three things:
- Your vehicle type (year/make/model)
- Your goal (brand visibility, more calls, fleet consistency)
- Your core info (logo, service line, phone number, website)
Send a few photos (side + rear) and your logo file, and SignEdge will recommend the best decal layout and installation plan, so your vehicle doesn’t just “wear a sticker”… it carries your brand with confidence.